Saturday 23 June 2012

Treaty Towers

Mmmmmmm check out this tower of goodies!!


Rather than a smaller, fiddlier or more time consuming project, for my boyfriend's brother, I thought I would go large quantity of super tasty treats.  A good choice as it turned out.

I made a variety of treats: Red velvet cupcakes, chocolate and walnut brownies, millionaire's shortbread, chocolate peanut butter swirly cookies and maple and pecan flapjack.

The stand pictured is designed for birthday/wedding cupcake towers, and was a brilliant way to get a huge amount of baked treats out and on display all at once.  I got mine on ebay last week, but they are also available from wedding cake companies etc.  I totally should have thought to count how many items I managed to get up there, what an oversight.

After a fantastic buffet style meal made by my boyfriend's Mum, we all swarmed on the cakes with gusto, and are all happily enjoying the left overs still 

:D 

I love cake!

Friday 22 June 2012

A Different Kind of Cupcake

Not  my usual kind of cupcake creation, but I thought I would share this one anyway!


Crochet is a relatively new hobby for me, one which I was introduced to by a friend who is fantastic at creating all sorts of things, just take a look at her crochet coral paradise on my crochet coral reef cake post.

With my love of all things cake, once I had stumbled on a pattern to make crochet cupcakes I knew it was only a matter of time (I  found this pattern yesteday, I made half of it last night, and got up at 6:30 am to finish it before work this morning.... dedication bordering on obsession) before I was making some.  

Although I had a bit of a false start with this - somehow finding myself with 50 odd stitches when I was supposed to have 27 - once I had turned the TV off, and the light on, my second attempt went just fine.  I would definitely recommend actually counting stitches as you go, if you are as new to this as I am!

I made this as part of a slightly larger project (to follow...) but it is so cute on it's own that I wanted to put it up whilst I am waiting on photos of the full cake and crochet ensemble.

I am enjoying my new hobby, it is a lovely sociable thing to do (well it is in our office, where we have had a lunch time crochet club started), and a good way to keep your hands busy and productive whilst chatting, or watching TV etc.  Well usually that is, evidently that didn't work out for the above!  But, I am in the middle of making a bag at the moment, using some very thick wool, which means it has whacking great stitches that I can't miss!

I hope my post brings inspiration to any closet creative people, or a bit of interest for anyone else looking for something fun to make.  Thanks for reading.

Crochet Coral Reef Cake

Not one of mine, but this wonderful cake had to be shared.


My friend Esther is incredible with a crochet hook, this is the awesome Coral reef cake she made for our friend Coral (see what she did there!? hehe) for her birthday. 

I am still reeling from the creative genius of this!  (The extended reeling period may partially be because I am such a marine geek).

The cake itself was carrot cake, with a lovely cream cheese frosting on top.  This was sprinked with cinamon, and the crochet coral decorations were placed using cocktail sticks.  The starfish are from a haribo funny mix. 

I love it!

Stuart McGhee's Bizimals

I have a good friend at work, who is part time in my office, and spends the remainder of the time being creative for a living.  (As opposed to me who is creative apparently only for make people fat through frequent cake feedings).

His work is brilliant, and I am exceptionally jealous of the ability to put a pen on paper, and not come up with something which could be mistaken for part of a Rorscharch test.  

His birthday was last week, and of course I thought, well why not recreate his drawings on cake!  A seemingly great idea, but when you pay attention to the Rorscharch remark, you will see where this was perhaps a foolish move.  In order for me to complete this task, each cupcake took approximately 4 hours to complete... Not particularly economic on the time front then.

Stuart McGhee's original work can be seen on his website at www.stuartmcghee.com/ or on deviant art at http://stuartmcghee.deviantart.com/ the drawing which inspired my creations are his Bizimal collection ....


And after some painstaking, tracing and painting onto fondant circles, using various food colourings, sometimes mixed with a teeny bit of vodka to thin, here are my reproductions in cake form ...


Thursday 21 June 2012

Tropical Paradise Cake

I work in an organisation filled with marine biologists, it's a great place to work, and everyone who works there, has come to be there because they love the sea (makes sense really!).  Sadly, contracts can be very short, and one of the girls who has been working in my office for about three months, finished last week.  What better a send off though than a marine themed cake!  It was a tropical island paradise, with some creative marine creatures all over for decoration. 

I made this cake with a friend from work, who I had fun introducing to creative cake decoration.  She is a very artistic person, and took very well to the task! 

I had on hand, some pink royal icing in a piping bag, with a very small bit of the tip cut off to create a tiny pipng line.  This was used to pipe the pink sea fans on the sides, as well as the pink fish, and crab below.  The fish and crab were piped onto baking paper to get the outline, then piped over a couple of times.  Once they had dried they were removed from the greaseproof paper, et voila, pretty sea creatures.
I also had a lot of fondant on hand, in a wide variety of colours, which we moulded like play doh into all sorts, as well as rolling out and cutting some shapes, like the pretty seahorse.
Green fondant sea grass...
Pink fondant seaslug, with purple sanding sugar on the body for colourful spots ....
One very big fondant octopus!
The cocnut tree on top of the cake was made of chocolate a packet of rolos and some green fondant.  I started out by melting some white, and some dark chocolate (in separate bowls).  I created a base out of white chocolate by pouring a pool of white chocolate onto a piece of baking parchement, allowing this to set, then adding a second layer to make the tree nice and stable once added.  I then dipped the bottom of a rolo into the dark chocolate and attached it to the white chocolate "sand" base.  Each rolo was then added to the top of the previous one, with time in between each 2 rolo additions for setting of the chocolate.
The leaves were cut from green dyed fondant, set to dry over the bottom of a dish, to give a curved look.  I used the melted dark chocolate to add a brown line down each frond.  This had 2 jobs, decorative, and more importantly it added a more stable structure to hold the thin, fondant layer which was drying in a curve, and would not have any support once removed from the underside of the bowl!   
Unfortunately, the leaves still seemed a little bit like they might break off and fall apart once they had dried, so I inverted and covered the bottom's with a few layers of melted white chocolate, which once dried, provided a much more solid, less fragile structure.  An additional blob of white chocolate was also used to attach the whole thing to the rolo tree trunk.
The coconut at the bottom, was a little bit of fondant shaped into a coconutty type ball.  Lovely.
We made great use of spare dessicated coconut, food colourings and sanding sugar to cover almost everything on the cake!  Anything and everything was used, with very little method involved.  A seascape is an excellent way to get creative without constraints!  A wonderful task for children, and big children (like myself!) alike. What a great time :)

Oh and of course the all important cocktail umbrella for miniaturised days of lolling in the tropical sunshine!

Ahhhh now if only I could go and find some of that tropical sunshine I mentioned ...

Thanks for reading.

Sunday 17 June 2012

Baby Rattle Cake Pops


I attended my first baby shower recently.  A friend of mine, being American, but having been in the UK for much of her adult life, took the opportunity when another friend got pregnant, to organise her first baby shower.  This turned out to be a hilarious evening, and a great american tradition!  

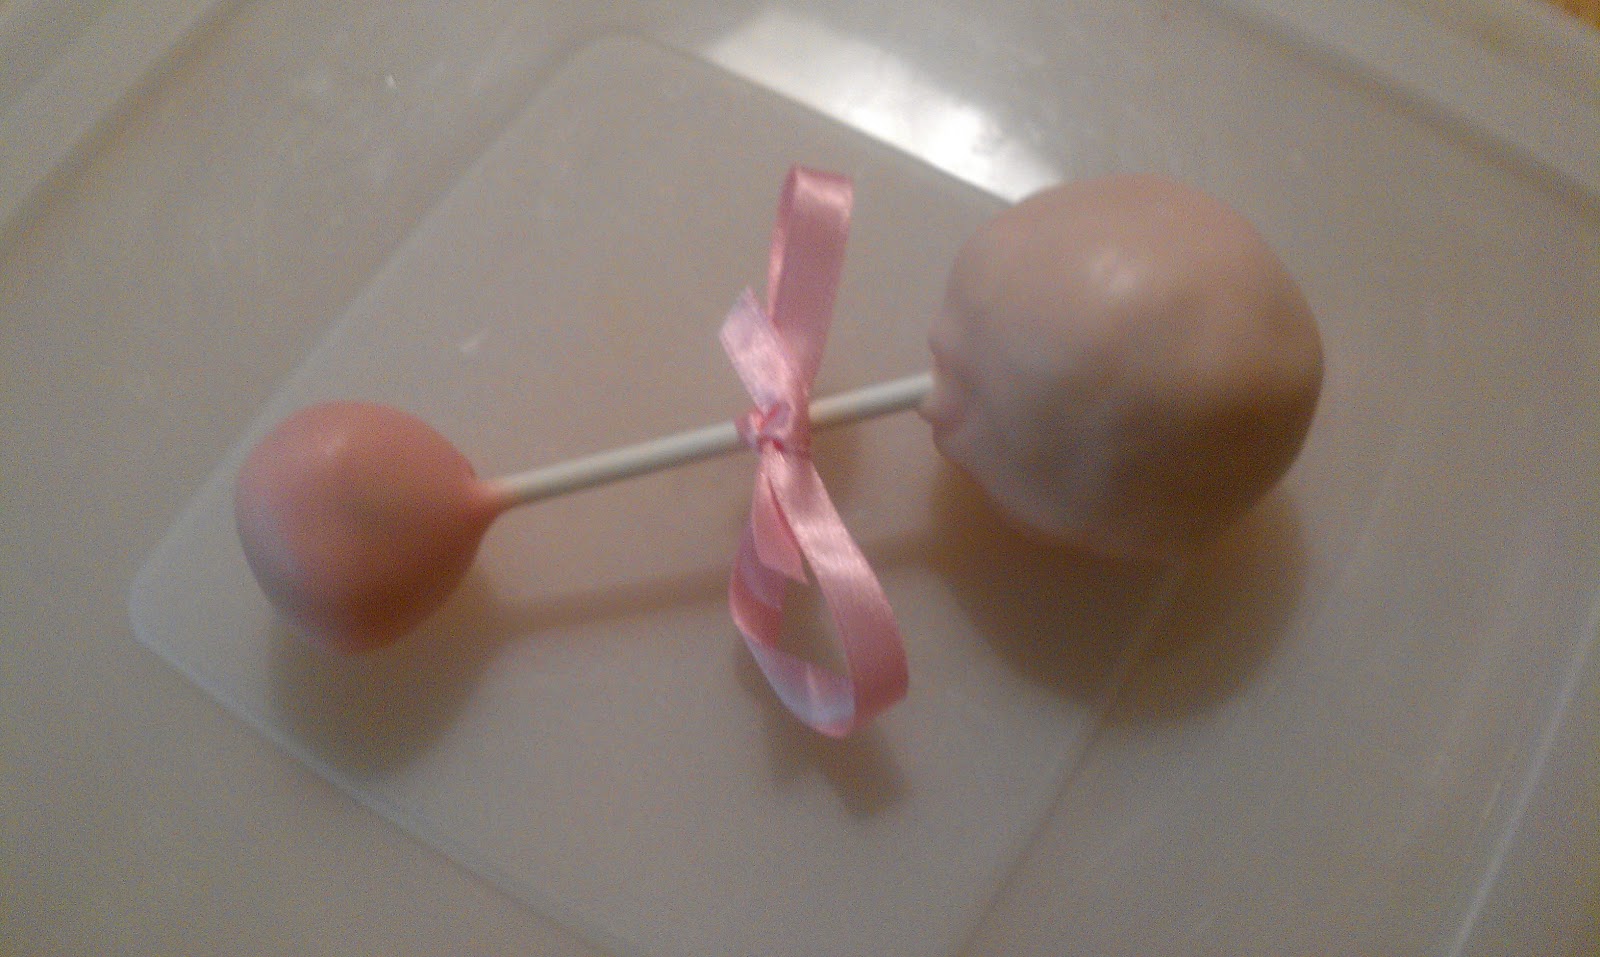
Of course, I couldn't go empty handed, and it was quite obvious what I was going to bring ... cake!  I pondered what kind of cake, and having played with my first set of cake pops not long ago, I thought, aha, baby rattles made from cake pops! Perfect.  The pops were made with cookie dough at one end, and cocktail flavoured cake at the other, mmmm what a treat!

I started off with my lolly sticks, these ones are 4" long and can be bought in any cake decorating store, be that an online one, or a physical one.  

Then I made up a set of lime flavoured sponges.  Two 8" circular sponges will be plenty.  I used a vanilla cake mix and added, zest and juice from a lime.

I next made a batch of egg free cookie dough, from which I made the smaller balls on the bottom of the rattles.  I creamed 220 g of butter and 250 g of caster sugar in a bowl, then added a teaspoon of vanilla essence, and 300g of plain flour, and approximately 50 g of chocolate chips (the chocolate chip measurement is an estimate, I just kept adding until it looked suitably chocolatey! mmmmm) and mixed this all together to form a dough.  

Well who doesn't like cookie dough?? Mmmm, I know I do.  I made small balls, approximately 1" in diameter out of the raw dough and set these on greaseproof paper on a tray as I went.  

I melted 100g of white chocolate cake covering in a bowl in the microwave, stirring every 30-40 seconds to avoid burning.   A few drops of pink food colouring were added to the melt.  This was then used to dip the lolly sticks into, before they were inserted into the dough balls.

 These were left on the baking paper on the tray for a few minutes to set.  I then fully dipped half of the dough balls, up to the lolly stick in the pink chocolate, shook off the excess chocolate, before placing the lolly stick in a block of florists foam, whilst the chocolate set on the dough balls. 


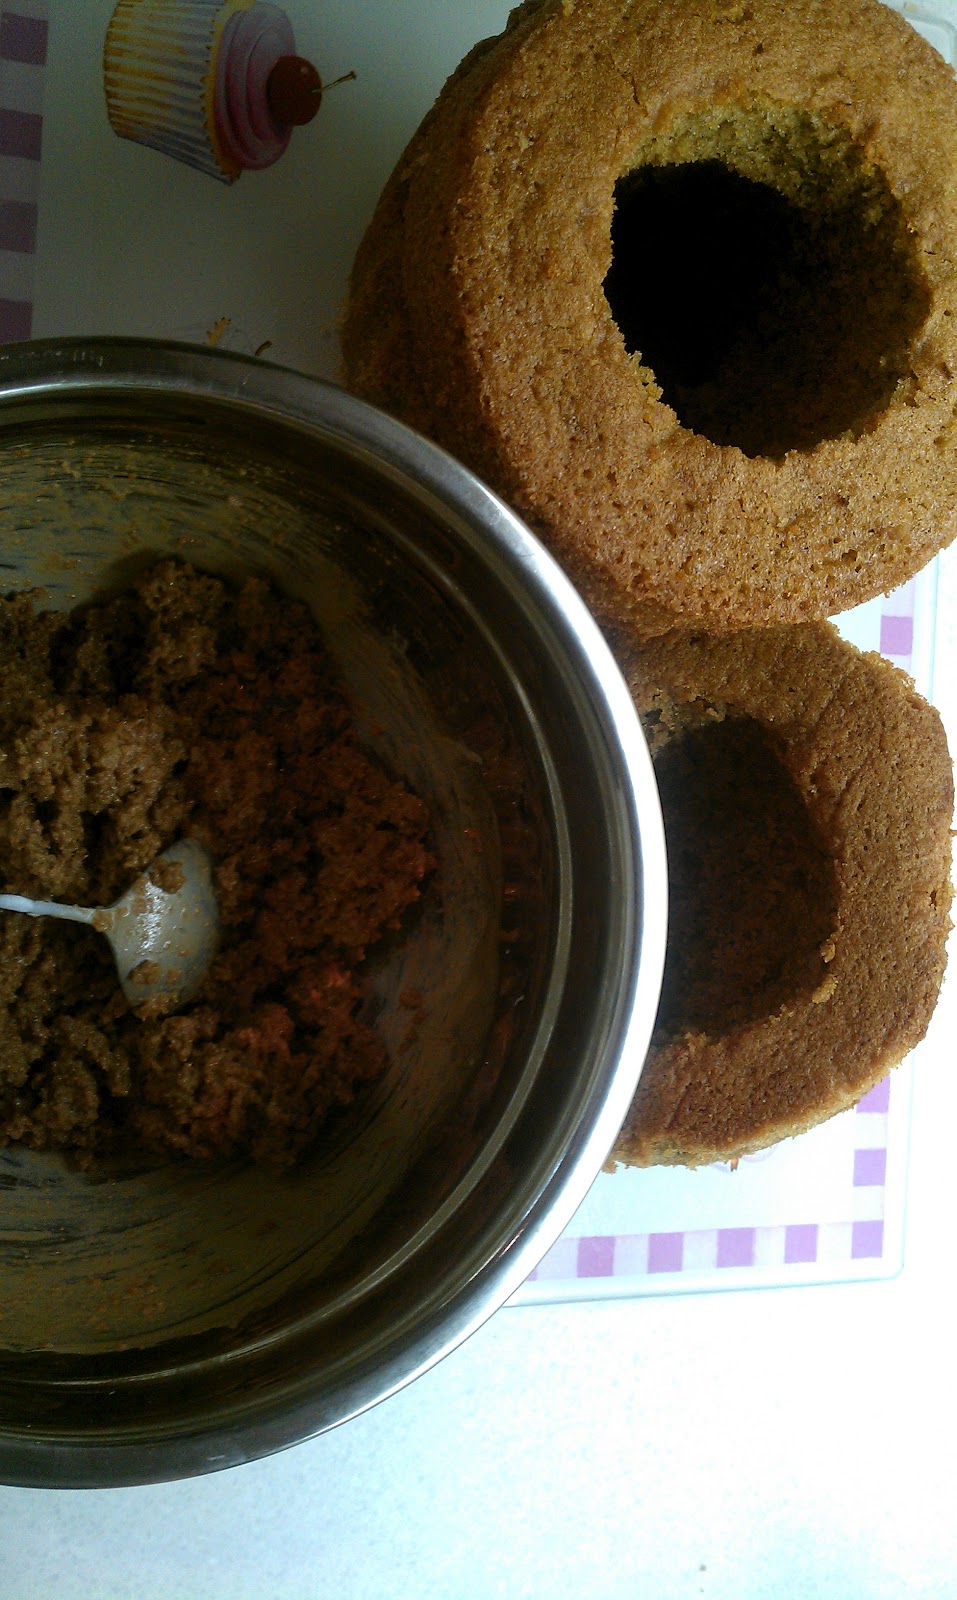
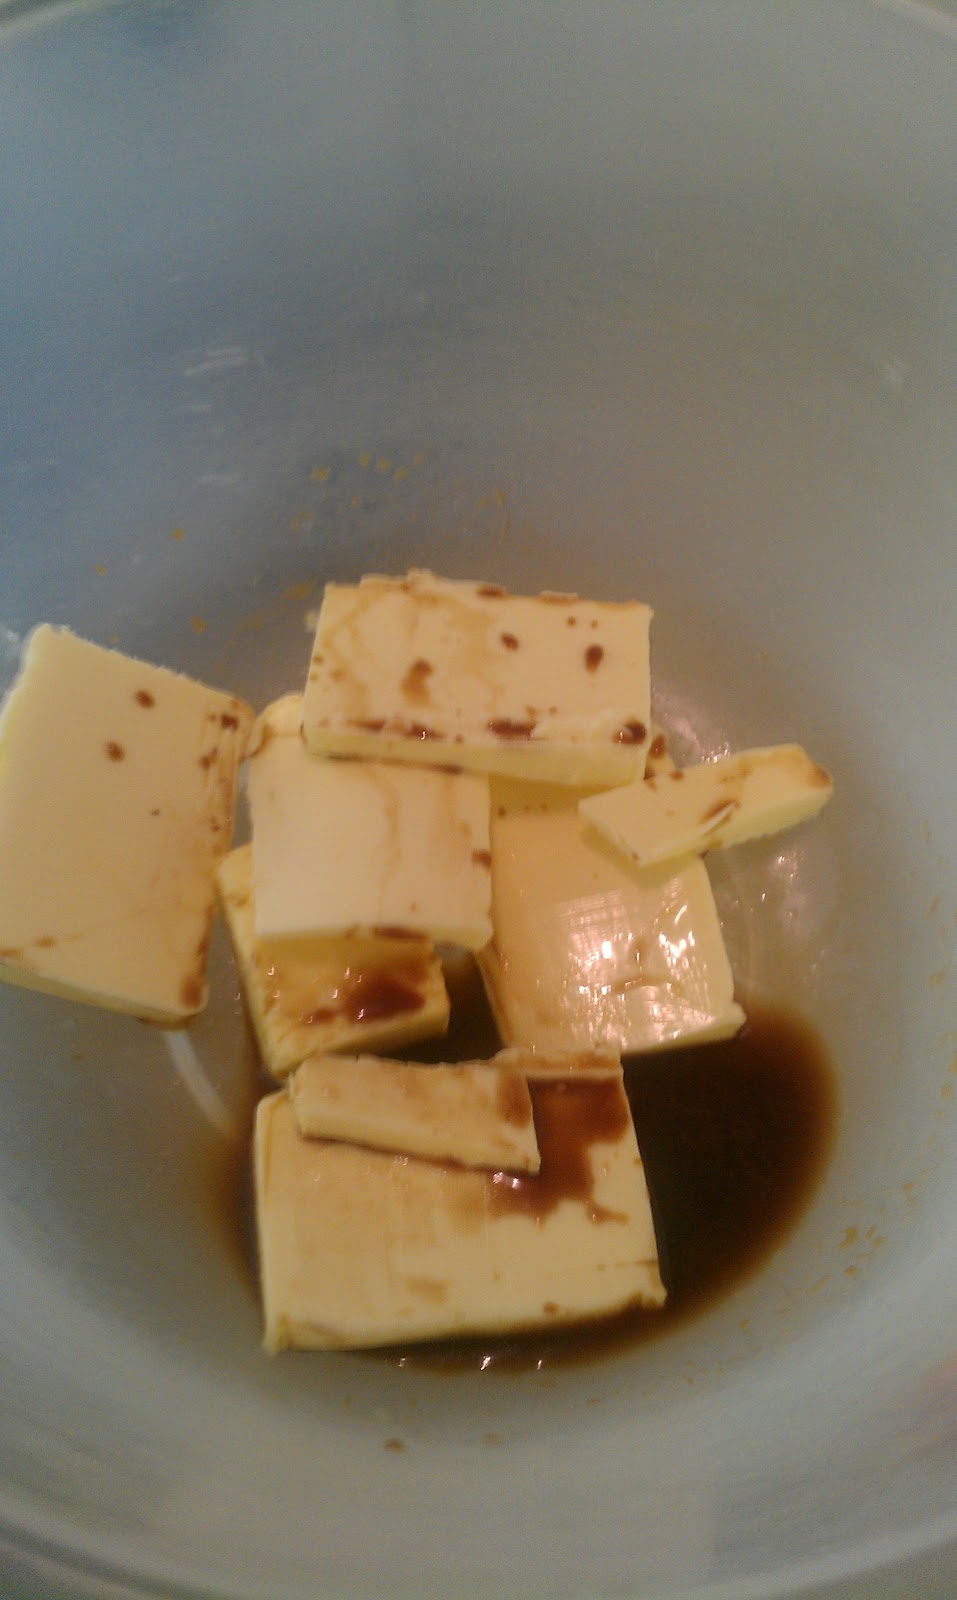
Whilst these were put aside to set, I started to make the cake pop mixture.  I took one of my 8" lime sponge cakes, and crumbled it into a large bowl.  For the pink pops, I made up margarita flavour cake pop balls.  To achieve this I added a tablespoon of tequila, and a table spoon of triple sec to the crumbled cake.  I made up a batch of lime flavoured buttercream icing, and added a little at a time, to get a mouldable cake mixture, which was not too mushy to shape.  

Once the mixture was made, I took small handfuls, and shaped them into balls, approximately 2 - 3 inches in diameter.  I took the lolly sticks with the dough balls on the other end, and dipped the stick into the chocolate melt, then pushed the stick into the centre of a cake ball.  These were then placed on a tray and put in the freezer for approximately 5 minutes.  During this time I made sure the pink chocolate dipping mixture was still liquid, and if necessary you can melt some more, if you don't think there will be enough.
Once the 5 minutes chilling was done, they were removed from the freezer and the cake pop was fully dipped into the chocolate melt to cover.  Excess chocolate was shaken off, and I held the pop aloft, until the cold cake mixture had caused the chocolate to set hard enough to put the pop back down on greaseproof paper without leaving a mark.  This took almost no time at all, as the cake centre was so cold.

The finishing touch, was simply a thin piece of ribbon tied around the pop stick to make a bow.  Lovely! 


Once I had finished all of the pink ones, the remaining cookie dough balls were dipped in a second batch of white chocolate cake covering dyed with blue food colouring, and this time, the cake pop was made to be daiquiri flavoured.  I added a few drops of rum flavouring, and lime buttercream to the crumbled second sponge to get this flavour.  All other steps were repeated as with the pink.

They made a great treat, the Mum-to-be loved them, and the other ladies enjoyed them too!  All in all, not a bad experiment! 


Thanks for reading!

Death By Chocolate Cake


Death by chocolate cake! Yum!!  

One of my friend's at work's birthday, she loves chocolate, so, chocolate cake! 

I used the death by chocolate cake recipe found in Mary Berry's baking bible.

The top is decorated with grated dark and white chocolate.  Chocolatey heaven!


Saturday 2 June 2012

XBOX 360 Cake


The fruit of two days worth of labours!  
I made this cake for my boyfriend's brother's 18th last week.  It was one of my more interesting challenges so far, although overall relatively simple, there were some tricky bits along the way!  I used new ways to get the best results, and I started experimenting with sweets for decorations, and adornments etc.  


Console

The console was created from, what started out as two 9" by 6", 3" high rectangular sponges.   Each sponge had the top carefully levelled using a large bread knife before I started, and then I sandwhiched the two together with some icing. 


White Fudge icing recipe...

I used white fudge icing to both sandwhich together the cake, crumb-coat the console and to coat the controller. This created a very slightly off white coloured icing, which was suitable for this cake.   It was made using the following recipe. 

Ingredients:
225g icing sugar
30 ml glucose syrup
45 ml milk (Iused rice milk here and it worked fine)
75g vegetable shortening
5 ml vanilla flavouring


Sieve the sugar into a large bowl and set aside.  Heat the syrup, milk and shortening in a saucepan until the fat has melted and the mixture is almost boiling.  Remove from the heat, add the vanilla essence then stir into the sugar beating with a wooden spoon.  Leave to sit until it reaches the desired consistency (it will get thicker as it is left).


Once I had a nice smooth-topped tiered cake, I trimmed off all four edges to get a rectangular shape, at 0.6:1 scale of compared to a full size xbox.  I cut neat straight edges to give a perfect rectangle from which to work. 


I marked the middle of the front and began by cutting the front arc from centre out to approx 2 inches from the left and right sides (my new icing turntable came in sooooo handy for all this cutting!).  Then I repeated this at the back to match, but making the indent slightly shallower than at the front.


I then marked across the top of the cake from front to back, the central line, to again create a curved indent to look like an xbox.  Ocne I was satisfied that the shape of all this looked right, I proceeded to round off all of the relevant edges, to create the bevelled edge type look that the xbox console has.


Once I was satisfied that I had the correct shape I used the white fudge icing to coat the cake twice to seal in all crumbs etc. I then covered the cake with a thin layer of rolled out white fondant icing.


The remaining details mostly involved some melted white chocolate which was put into a small decorating bottle.  I drew the cd tray onto some baking paper, with white chocolate.  Once this had dried I used a craft knife to neaten up the edges and gently scrape in lettering and detailing (the eject button etc) and then used the edible silver glitter to cover the piece of which chocolate and turn it silver.  The power button was drawn on using a green edible felt tip pen. and the XBOX lettering and cooling holes on the top of the cake were drawn on with white chocolate also.  In the case of the cooling holes, I added silver edible glitter to the chocolate to make it grey.


Ta da!  and on to the next bit ...

XBox Controller


The controller was made by drawing around my boyfriend's x-box controller onto a sheet of baking paper.  I then free drew a smaller version inside that line following the original shapes and curves, but creating a smaller template.  


I placed this on top of a 6" round vanilla sponge and cut out the basic shape.  Each edge was then rounded with some gentle trimming of the caketo give a more accurate, curved look. 


I placed the cake onto some baking paper and coated the control in 3 layers of white fudge icing (see recipe above) allowing each coat to dry in between applications.  (I had some melty, subsided bits when I needed to move the control into its final resting place, but happily this came away with the baking paper nicely).  


I puzzled over how to make the various buttons for a while, not knowing what I was going to do, and I had almost settled for something inaccurate when, my boyfriend returned from the shop run I sent him on, with white chocolate buttons.... as far as this cake is concerned, they are the most amazing sweet EVER.


I got my sweeties to hand (white chocolate buttons and m&m's) and melted up some white chocolate cake coating, which I then put into a decorating bottle with a small nozzle.  It turns out this cools and sets really quickly, and unless you want some extra exercise jumping up and down and going to the microwave every minute or two, I would recommend having a mug filled with hot water to stand your bottle in, or similar to keep it warm, and some kitchen paper ready to wipe off any water on the outside of the bottle.  I didnt learn this until about my 15th trip to the microwave, apparently I have a primitive method of learning how to make my life easier.


The coloured buttons are normal m&m's placed so that the m is underneath.  Each was attached with a blob of white chocolate on the back of the m&m before I placed it on the cake.  (Beofre I put all of the buttons on, I got them all on the cake and placed them where I wanted them, moved them until they looked good, then pushed gently to make an indent, but not too hard as to get them stuck to the cake yet.)


The central buttons ... the middle top, with the x on it.  I used the largest white button I could find in the packet.  I then took some silver edible cake glitter, and mixed it with some vegetable shortening to form a sparkly silver paste (you probably dont need to do this, with enough glitter alone im sure it would work, but I wanted to get it really bright and use the glittter as more of a paint).  I painted the mixture onto my big button, then drew the stylised x logo on with a green edible felt tip pen (these are awesome!  Soooo easy to use!  I found these online a couple of weeks ago, but noticed them in the cake decorating section of my favourite shop, so that seemed like a lovely easy way to get a small detail onto my cake!) et voila, one big silvery button. 


The two rotating pads, top left and bottom right, were a tricky one.  Oh did I wonder how I would do those!  However the world was a good place, as I threw my chocolate buttons onto a plate, one landed upright with a second landing upside down on top of it, and I'll be damned if it didn't make a great looking controller stick!   All I needed was a way to turn them grey.  I got some of my melted white chocolate coating, and added some of my silver edible glitter, this turned the mixture grey, I played with the quantities until I got the right colour, then painted the 4 required chocolate buttons to make the sticks.  Once this had dried, they were stuck together with the rounded ends facing together, then added to the controller.


The arrow pad, was one chocolate button, which I enlarged with extra white chocolate, and then painted a cross shape over .  Once this was the right shape, I used what was left of the grey chocolate and painted the whole thing grey. 


This is much more my kind of xbox than the normal kind I gotta say!

Milkshake Cake

My youngest brother's birthdya cake.  The boy likes milkshakes, so I made a miilkshake flavoured and themed cake for him. 


His favourite flavour at the moment is coffee, so this was a coffee cake, with coffee icing, and a lot of squirty cream.  It came out a little squat looking, so could maybe have done with an extra layer for height, but overall, not too bad. 

I made a BIG batch of coffee cake mix and used, one giant cupcake shaped tin, and two 6 inch round tins for making up the necessary cake. 

The giant cupcake was hollowed out, and the lower portion, made to have a hole straight through.  The first 6 inch round cake, was also made into a ring, which fit nicely on top of the hollwed out cup cake body.  The second 6 inch cake was to sit at the bottom.  It was trimmed down to be the correct width to sit under the cupcake piece, to make a glass shape when all of the cake pieces were stacked. 


I didnt throw away any of the cake which was cut out, oh no!  I took all of the pieces and made the milkshake flavour filling with them!

This was done by putting some strong, cooled coffee in a large bowl, adding lots of whipped cream, and then adding the cake pieces, which had been crumbled to fine crumbs.  All of this was mixed together to make a nice goopy, creamy milkshakey mix, which I would later be adding back into the hollowed out cake!


 But first ....

I got some icing onto the thee bottom layers of the cake.  To do this I made up a coffee flavoured buttercream, sandwhiched each layer together, and then smothered the outside of the cake in buttercream until the cake was smoothed out, and you couldnt tell that actually the tiers were ever so slightly (ahem really quite a lot) different in widths where they met.  Icing will hide all evils.  I used a heated (with a cupful of hot water) palette knife to make the icing super smooth and a bit glossy around the whole of the "milkshake glass" section.

Once this was done, I put my milkeshake, cake crumb mix into the hole through the middle of the cake, and the hollowed out bit of the top, and placed the top on.  This then had a mountain of whipped cream squirted all over it, and chocolate sauce dribbled down it, and chocolate sprinkles thrown over it.  Finally I popped in a couple of straws to add to the decoration!  Super shake!